
In Minecraft, creating the perfect aquatic environment can be a lot of fun but can also be a bit challenging. But what if you could make the process easier and more convenient by having a water bucket?
In this guide, we’ll show you how to make a water bucket tailored to your specific needs and preferences, allowing you to create the perfect aquatic environment in your Minecraft world.
Materials :
3 iron ingot
Step 1: Gather Your Materials
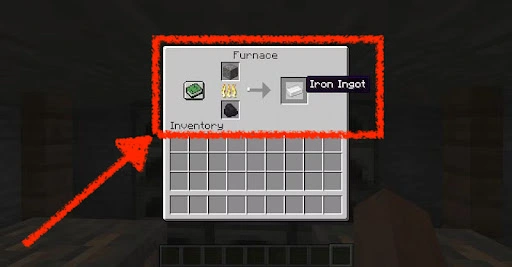
To make a water bucket, you’ll need to gather three iron ingots and one bowl. Iron ingots can be obtained by smelting iron ore in a furnace.
Step 2: Arrange the Materials in the Crafting Table
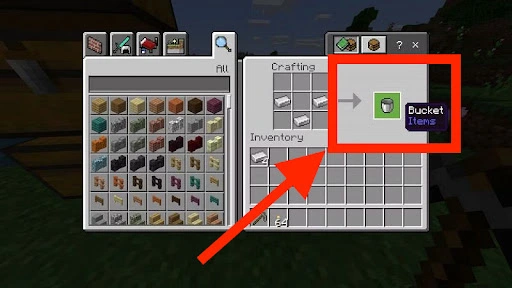
Place the three iron ingots in a row on the crafting table like this.
Please refer this video If you have any confusion
Step 3: Obtain Your Water Bucket
Once you have arranged your materials correctly, you should see the water bucket appear in the result box. Simply drag and drop it into your inventory.
Step 4: Use Your Water Bucket
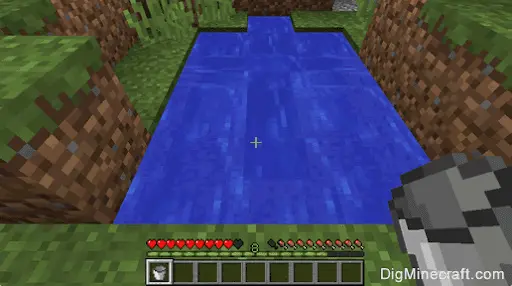
To use your water bucket, simply right-click on a source of water, and the water will be transferred into the bucket. You can then use the bucket to transport water to another location or even use it to extinguish fires.
And there you have it! By following these simple steps, you can easily make a water bucket in Minecraft and use it to create the perfect aquatic environment for your world. Whether you’re building a beautiful pond, a rushing river, or a serene lake, having a water bucket on hand will make the process much easier and more convenient.
Leave a Reply